Kirby - Free amigurumi pattern
|
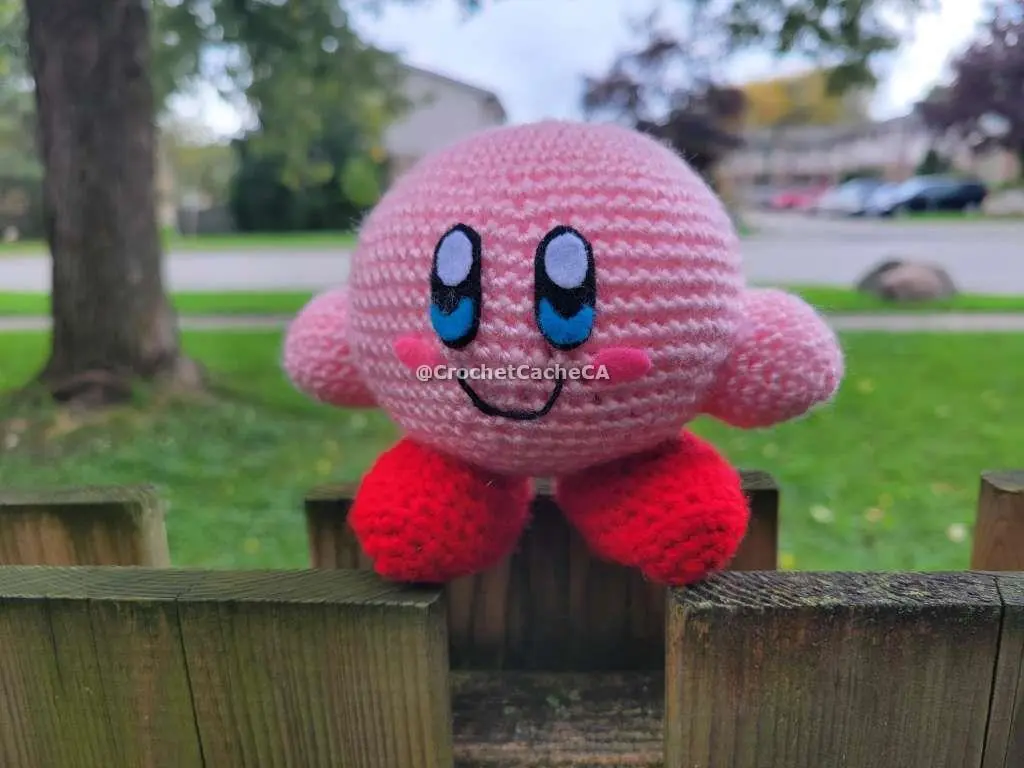
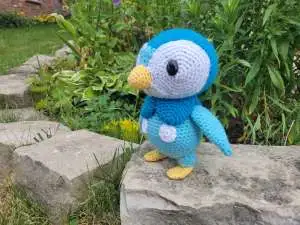
What do you get when a game developer takes the idea of a vacuum cleaner, makes it pink and round, and gives it the ability to suck up enemies and steal their powers? One of the most adorable video game characters ever created: Kirby! This little guy has been delightfully inhaling bad guys since 1992. He has been in more than 20 games for Nintendo consoles. Kirby is a character who embodies joy and innocence in the games that he stars in. He lives in Dream Land, which is located on Planet Pop Star. This pink puffball with his trademark grin on his face was a cute pattern to make. If you grew up playing these games or you have an avid gamer your trying to find a gift for. Kirby is the perfect option. With how simple this pattern is, it is an easy pattern for people just trying to get into crocheting. Please as always if you use this pattern and post photos on social media, please put 'Pattern by @CrochetCacheCA' in your post. I would love to see the results! |
Materials and Information
Yarns:
**All Yarns are Weight 4 - Medium / Worsted
- Pink
- Cherry Red - Red Heart Super Saver
US Crochet Terms
Abbreviations:
- Rnd(s): Round(s)
- Row(s): Row(s)
- sc: Single Crochet
- dc: Double Crochet
- hdc:Half Double Crochet
- tr: Treble or triple Crochet
- dtr: Double Treble or Quadruple Crochet
- inv dec: Invisible decrease
- dec: Decrease
- dc dec: Double Crochet Decrease
- inc: Increase
- dc inc: Two double crochets in the same stitch
- cc: Colour Change, followed by the colour
- sl st: Slip Stitch
Additional Materials:
- Black - Aunt Lydia's Crochet Thread - Fashion 3 (1 Super Fine)
- Pink, white, black and blue felt.
- 4.5mm crochet hook
- Bent Yarn needles
- Scissors
Tips:
- - Keep track of beginning of rows by using a marker
- - 4.5mm crochet hook
- - Crochet this toy with tight stitches, helps not show the stuffing through
- - To keep details such as increases, make sure to add extra stuffing in these areas as you stuff them.
Use Policies:
You may not redistribute, sell or claim this pattern in it entirety, or in part of, as your own design/pattern
You are welcome to sell finish products made from this pattern, as long as you provide credit for the pattern as 'Pattern by Crochet Cache' if posted on a social platform other than Facebook, Instagram, Twitter. Else provide credit as 'Pattern by @CrochetCacheCA' on Instagram, Twitter or Facebook.
I am not responsible for any legal repercussions that may incur, this character is not licensed by me.
Kirby is property of the Nintendo, I have no ownership of this character in any way.
Body
| Rnd 1 | Pink - 6sc in Magic Circle (6) |
| Rnd 2 | 6inc (12) |
| Rnd 3 | (1sc, inc) x 6 (18) |
| Rnd 4 | (2sc, inc) x 6 (24) |
| Rnd 5 | (3sc, inc) x 6 (30) |
| Rnd 6 | (4sc, inc) x 6 (36) |
| Rnd 7 | (5sc, inc) x 6 (42) |
| Rnd 8 | (6sc, inc) x 6 (48) |
| Rnd 9 | (7sc, inc) x 6 (54) |
| Rnd 10 | (8sc, inc) x 6 (60) |
| Rnd 11 | (9sc, inc) x 6 (66) |
| Rnds 12-16 | 66sc (66) Image 1 |
| Rnd 17 | (9sc, inv dec) x 6 (60) |
| Rnd 18 | (8sc, inv dec) x 6 (54) |
| Rnd 19 | (7sc, inv dec) x 6 (48) |
| Rnd 20 | (6sc, inv dec) x 6 (42) |
| Rnd 21 | (5sc, inv dec) x 6 (36) |
| Rnd 22 | (4sc, inv dec) x 6 (30) |
| Rnd 23 | (3sc, inv dec) x 6 (24) - Start Stuffing |
| Rnd 24 | (2sc, inv dec) x 6 (18) |
| Rnd 25 | (1sc, inv dec) x 6 (12) |
| Rnd 26 | 6inv dec (6), Stitch the remaining 6 loops together then tighten all stitches fasten off and cut and hide remaining tail. |
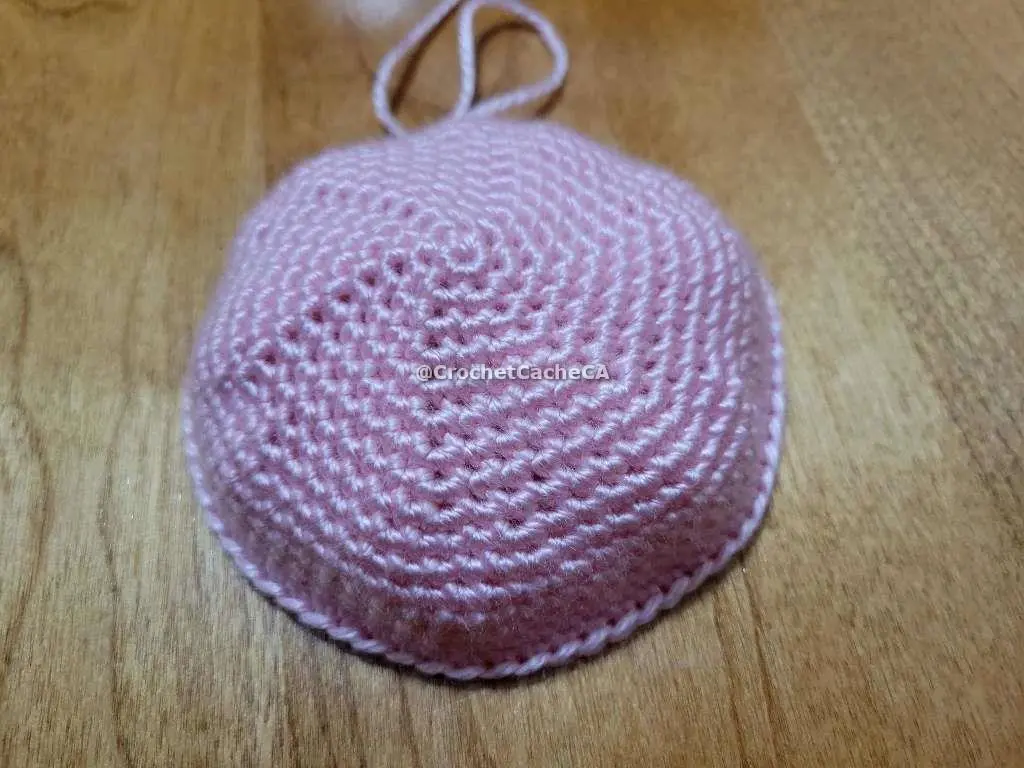
Image 1
Arms
**Make Two**
| Rnd 1 | Pink - 6sc in Magic Circle (6) |
| Rnd 2 | 6sc (6) |
| Rnd 3 | 6inc (12) |
| Rnd 4 | 12sc (12) |
| Rnd 5 | (1sc, inc) x 6 (18) |
| Rnds 6-8 | 18sc (18) - sl st, leave long tail for attaching to body. - Stuff the arm Image 2 |
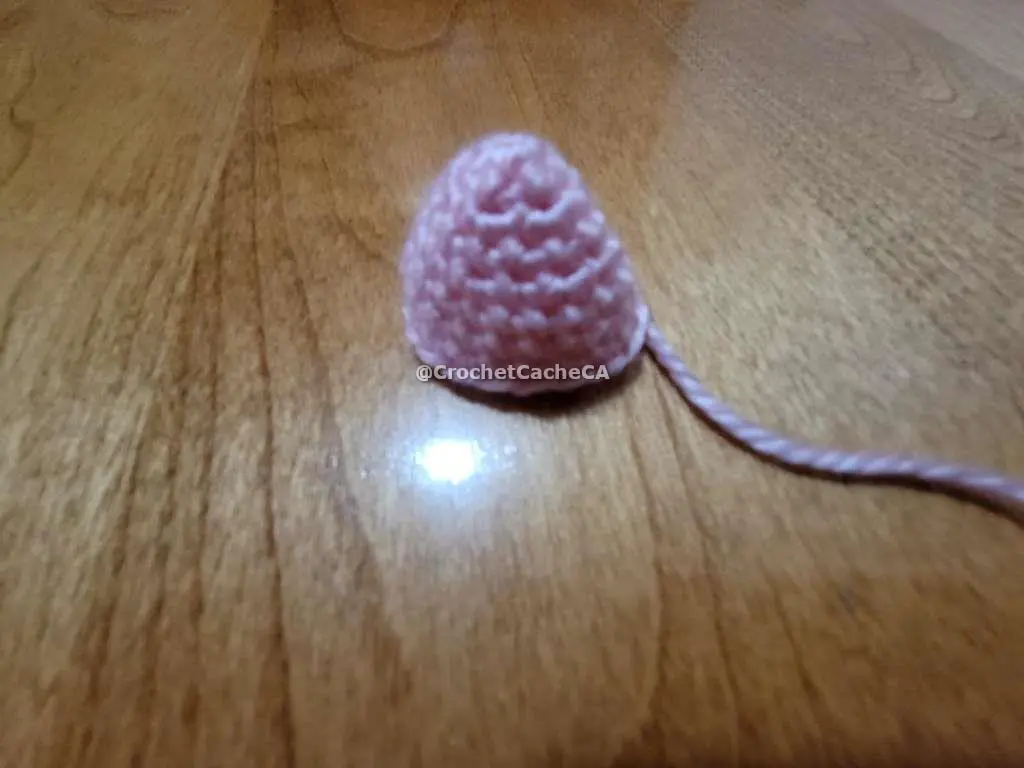
Image 2
Feet
**Make Two**
| Red- Chain 9, Starting in the second stitch from the hook 7sc, 3sc in same stitch, 6sc, inc. (18) | |
| Rnd 1 | inc, 7sc, inc, 7sc, 2inc (22) |
| Rnd 2 | 2inc, 7sc, 2inc, 7sc, 4inc (30) |
| Rnd 3 | 30sc in back loops only (30) |
| Rnd 4 | 12sc, dec, 16sc (29) |
| Rnd 5 | 4sc, 4dec, sc, 4dec, 8sc (21) |
| Rnd 6 | 4sc, 5dec, 7sc, (16) - sl st, leave long tail to attach to body. - Stuff the foot Image 3 |
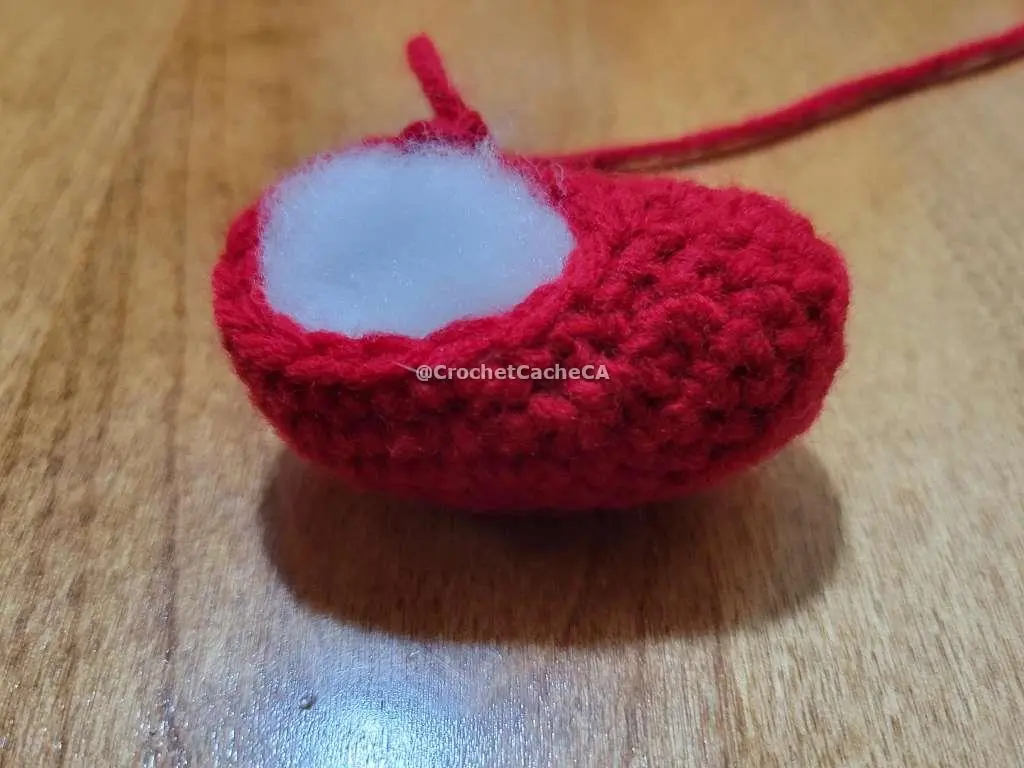
Image 3
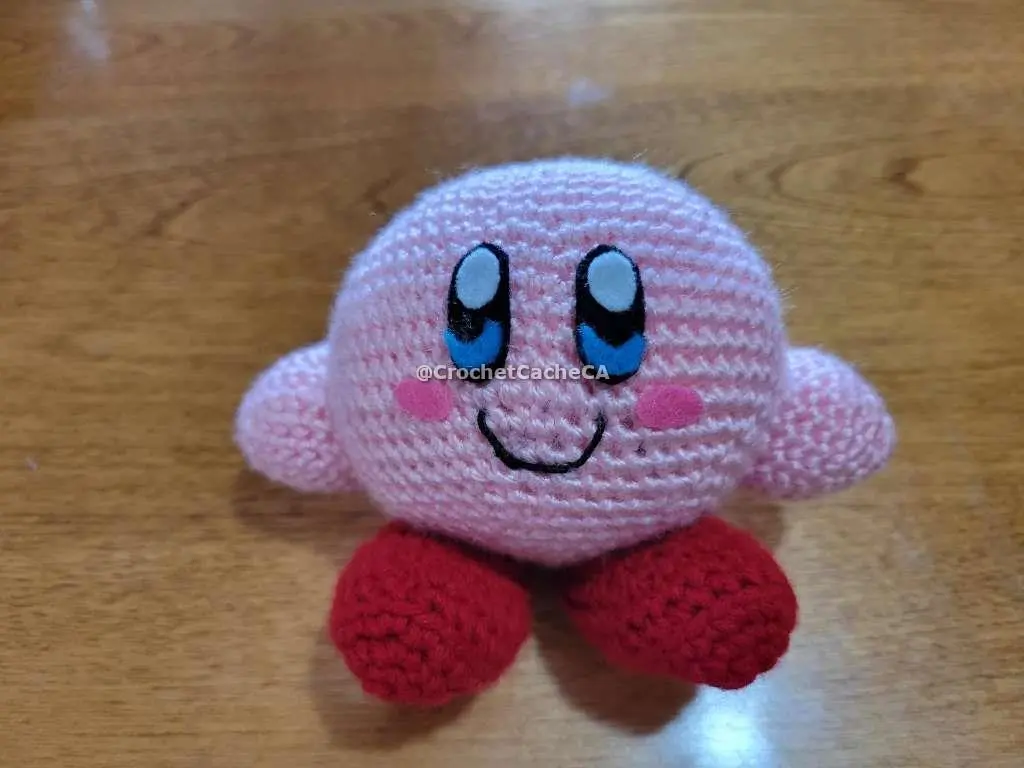
Assembly
- Attach the arms below the middle of the body on each side
Image 4 & 5 - Attach Feet to the bottom, I angled my feet outwards. Image 6
- Cut out two black ovals, two white circles, two pink ovals and two quarter moon shapes out of blue felt Image 7
- Attach felt pieces together by hot glue, fabric glue or sewing them together and to the body Image 8
- Using black crochet thread stitch on a mouth Image 8
YOUR DONE!
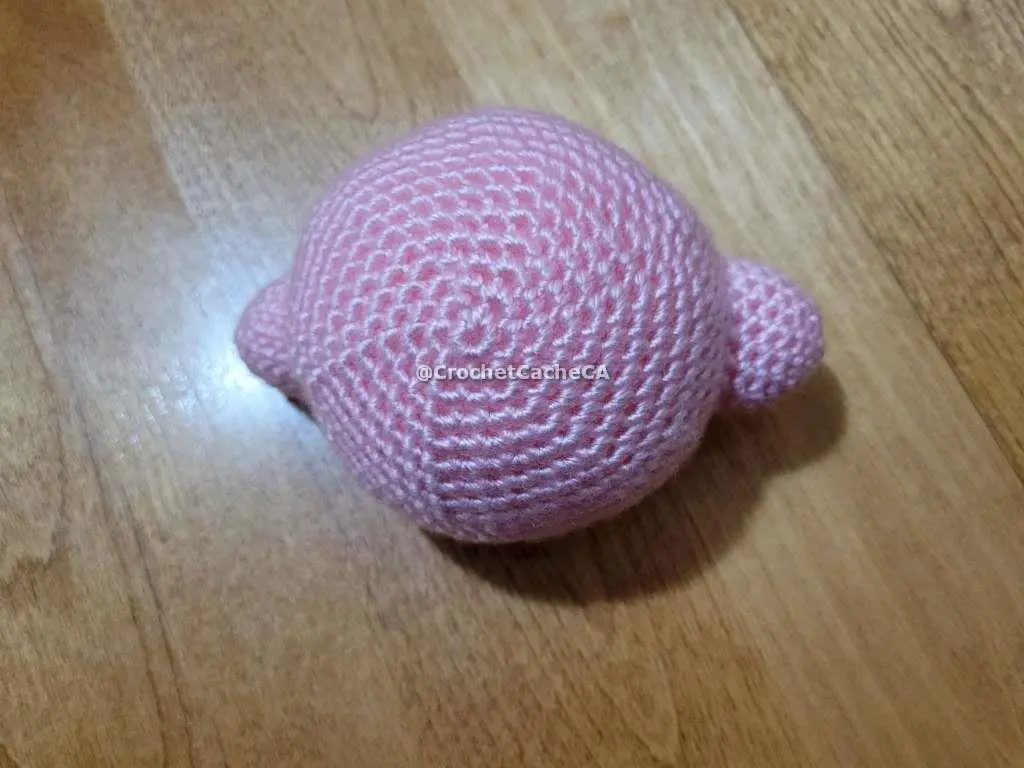
Image 4
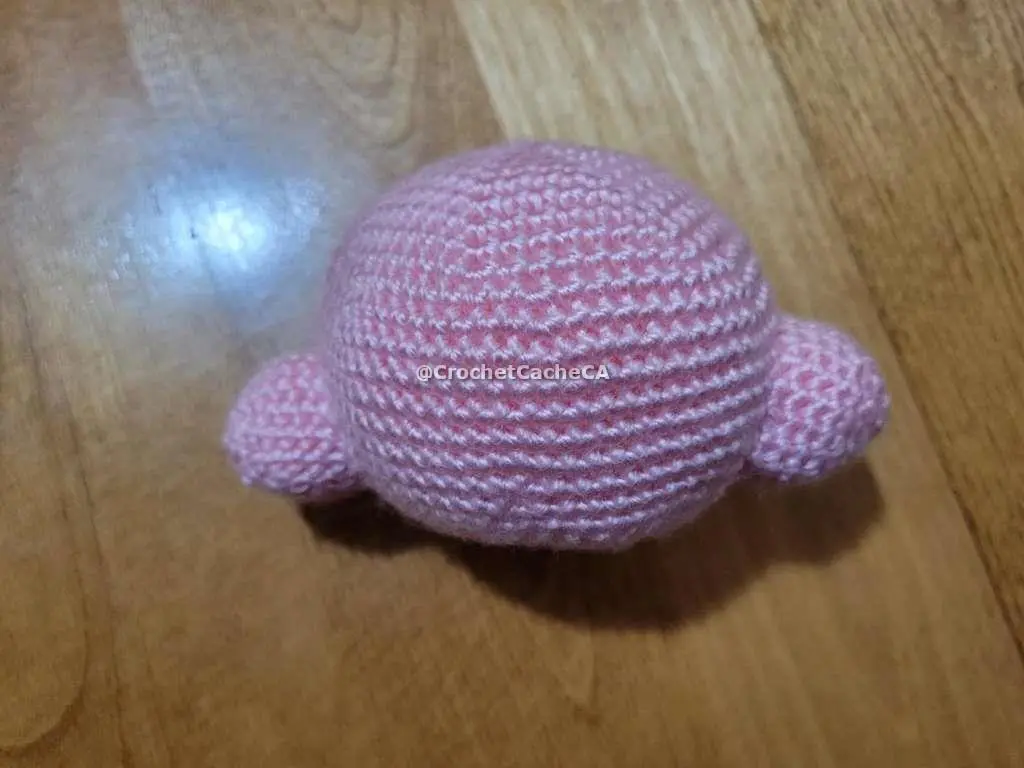
Image 5
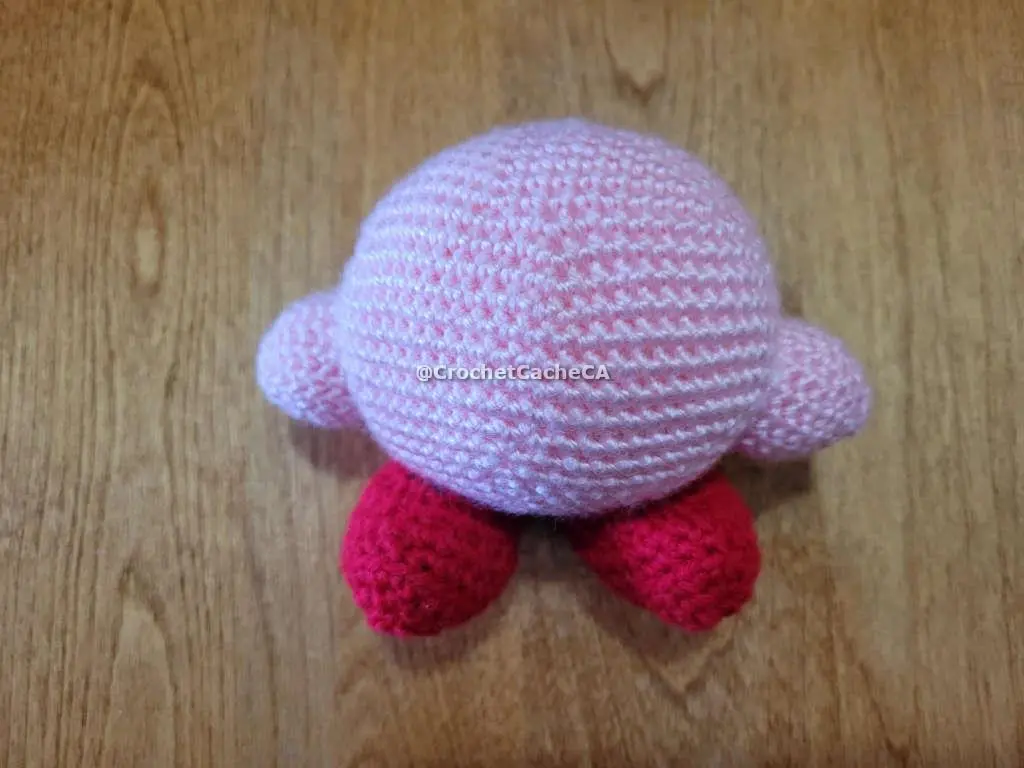
Image 6
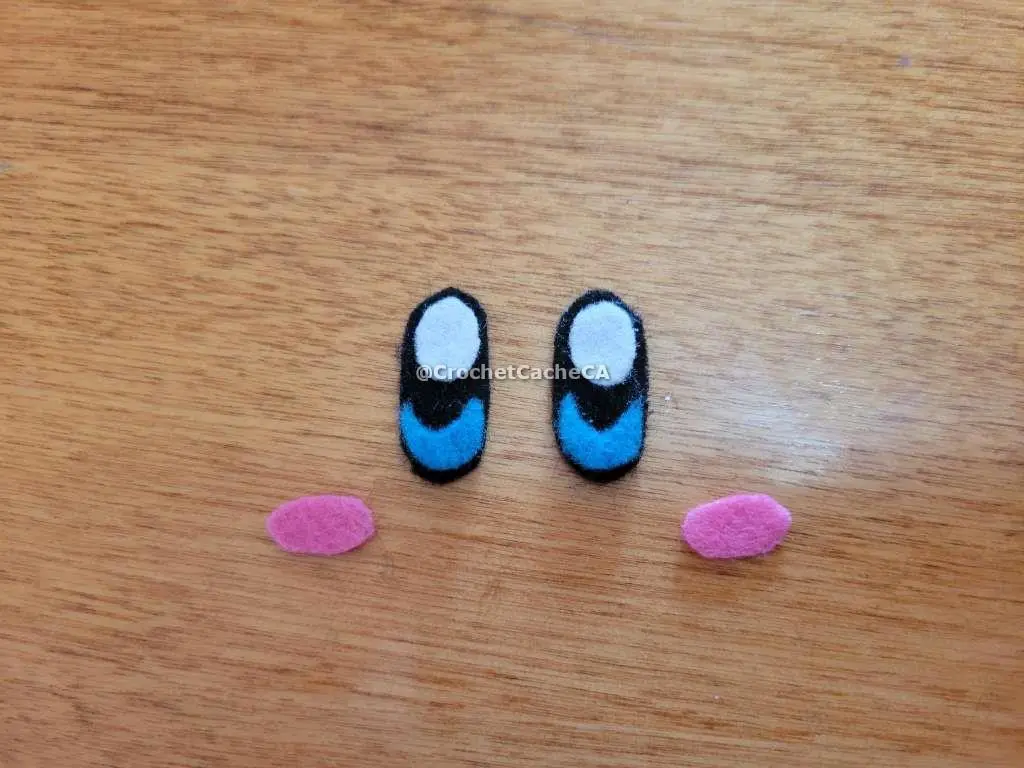
Image 7
Image 8
Conclusion
Hope you have fun doing this quick pattern. I also hoped this shows a pattern does not have to be complicated to be effective. If you liked this article, please check out our other patterns to find more things that might interest you.
If you have any questions, do not hesitate to contact me.