Mudkip - Free amigurumi pattern
|
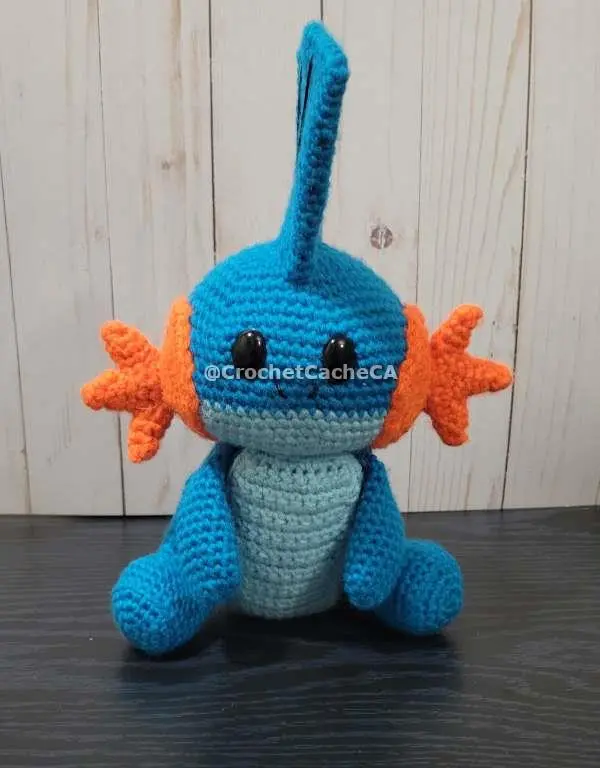
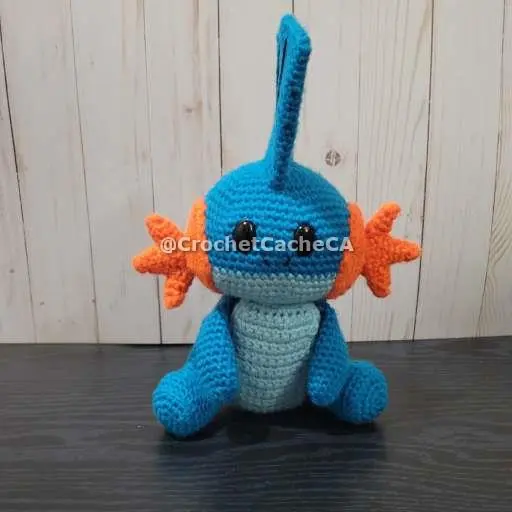
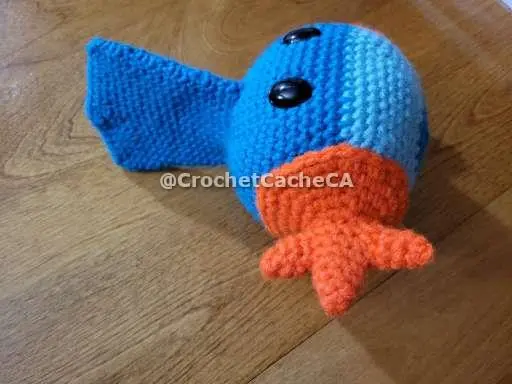
Mudkip is one of the most popular starter Pokémon to come out, and how could he not be with how cute he is. This little water-type starter was introduced in Hoenn region / generation 3 of the show and games. This mudskipper is even now a fan favourite whether it is from the show, games, or even its large amount of memes made of him. In this post, I will show you how to make your own Mudkip amigurumi for that Pokémon fanatic in your life. This pattern is beginner-friendly, As long as you know how to colour change. If you do use this pattern, please @CrochetCacheCA on social media. I would love to see the results! |
Materials and Information
Yarns:
**All yarns are in Weight 4 - Medium / Worsted
- Blue - Impeccable - Loops & Threads - Sky Blue
- Light Blue - Craftsmart - Agua
- Orange - Red Heart - Super Saver - Flame
US Crochet Terms
Abbreviations:
- Rnd(s): Round(s)
- Row(s): Row(s)
- sc: Single Crochet
- dc: Double Crochet
- hdc:Half Double Crochet
- tr: Treble or triple Crochet
- dtr: Double Treble or Quadruple Crochet
- inv dec: Invisible decrease
- dec: Decrease
- dc dec: Double Crochet Decrease
- inc: Increase
- dc inc: Two double crochets in the same stitch
- cc: Colour Change, followed by the colour
- sl st: Slip Stitch
Additional Materials:
- Black - Aunt Lydia's Crochet Thread - Fashion 3 (1 Super Fine)
- 4.5mm crochet hook
- Bent Yarn needles
- Scissors
- 17mm Solid Black Oval Safety Eyes (optional)
Tips:
- - Keep track of beginning of rows by using a marker
- - 4.5mm crochet hook
- - Crochet this toy with tight stitches, helps not show the stuffing through
- - To keep details such as increases, make sure to add extra stuffing in these areas as you stuff them.
Use Policies:
You may not redistribute, sell or claim this pattern in it entirety, or in part of, as your own design/pattern
You are welcome to sell finish products made from this pattern, as long as you provide credit for the pattern as 'Pattern by Crochet Cache' if posted on a social platform other than Facebook, Instagram, Twitter. Else provide credit as 'Pattern by @CrochetCacheCA' on Instagram, Twitter or Facebook.
I am not responsible for any legal repercussions that may incur, this character is not licensed by me.
Mudkip is property of the Pokemon franchise, I have no ownership of this character in any way. It is property of Nintendo.
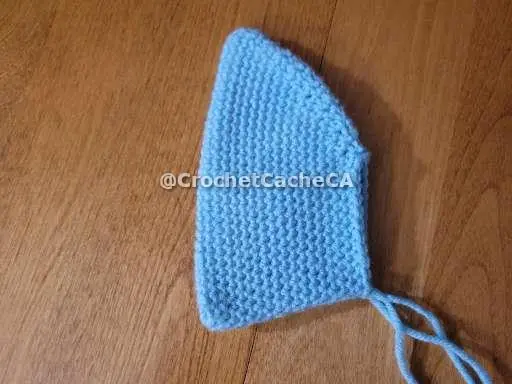
Head Fin
| Blue- Chain 18, skip stitch closest to the hook, 16sc, 3sc in the same loop, 15sc, inc (36) | |
| Rnd 1 | 9sc, dec, 14sc, dec, 9sc (34) |
| Rnd 2 | 7sc, 2dec, 12sc, 2dec, 7sc (30) |
| Rnd 3 | 30sc (30) |
| Rnd 4 | 14sc, dec, 14sc (29) |
| Rnds 5-6 | 29sc (29) |
| Rnd 7 | 13sc, dec, 14sc (28) |
| Rnds 8-9 | 28sc (28) |
| Rnd 10 | 13sc, dec, 13sc (27) |
| Rnds 11-12 | 27sc (27) |
| Rnd 13 | 12sc, dec, 13sc (26) |
| Rnds 14-15 | 26sc (26) |
| Rnd 16 | 12sc, dec, 12sc (25) |
| Rnds 17-18 | 25sc (25) |
| Rnd 19 | 11sc, dec, 12sc (24) - sl st, leaving long tail for attaching to the head. - Do Not Stuff the head fin. |

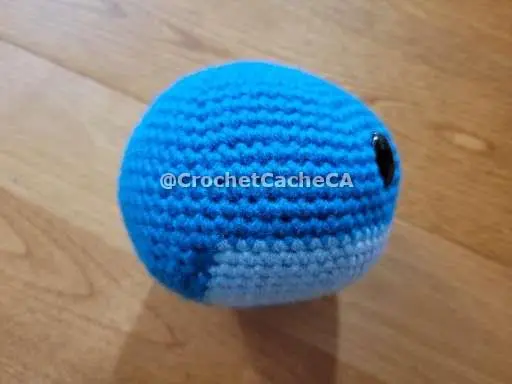
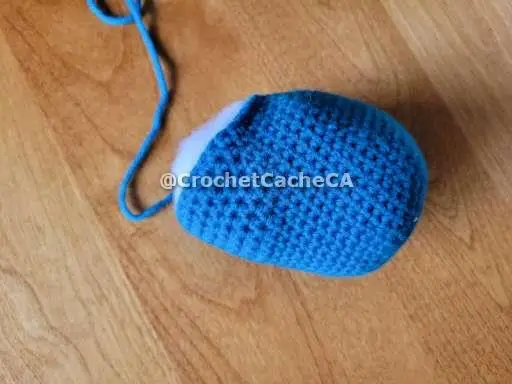
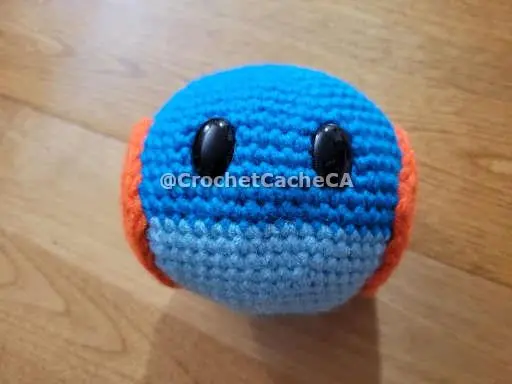
Head
| Rnd 1 | Blue - 6sc in Magic Circle (6) |
| Rnd 2 | 6inc (12) |
| Rnd 3 | (1sc, inc) x 6 (18) |
| Rnd 4 | (2sc, inc) x 6 (24) |
| Rnd 5 | (3sc, inc) x 6 (30) |
| Rnd 6 | (4sc, inc) x 6 (36) |
| Rnd 7 | (5sc, inc) x 6 (42) |
| Rnd 8 | (6sc, inc) x 6 (48) |
| Rnd 9 | (7sc, inc) x 6 (54) |
| Rnd 10 | (8sc, inc) x 6 (60) |
| Rnds 11-16 | 60sc (60) |
| Rnds 17-19 | 29sc, cc(light blue),29sc, cc(Blue) (60) |
| Rnd 20 | (8sc, dec) x 2, 8sc, dec cc(light blue), (8sc, dec) x 2, 8sc, dec cc(blue) (54) |
| Rnd 21 | (7sc, dec) x 2, 7sc, dec cc(light blue), (7sc, dec) x 2, 7sc, dec cc(blue) (48) |
| Rnd 22 | (6sc, dec) x 2, 6sc, dec cc(light blue), (6sc, dec) x 2, 6sc, dec cc(blue) (42) |
| Rnd 23 | (5sc, dec) x 2, 5sc, dec cc(light blue), (5sc, dec) x 2, 5sc, dec cc(blue) (36) |
| Rnd 24 | (4sc, dec) x 2, 4sc, dec cc(light blue), (4sc, dec) x 2, 4sc, dec cc(blue) (30) |
| Rnd 25 | (4sc, dec) x 2, 4sc, dec cc(light blue), (4sc, dec) x 2, 4sc, dec cc(blue) (24) |
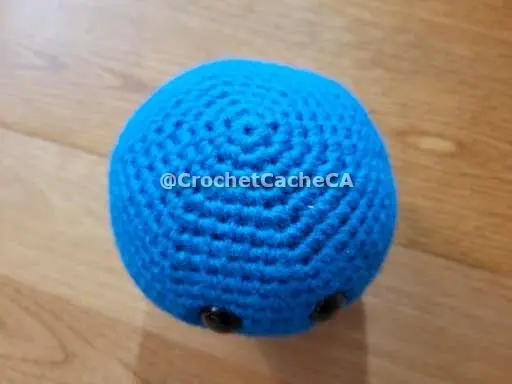
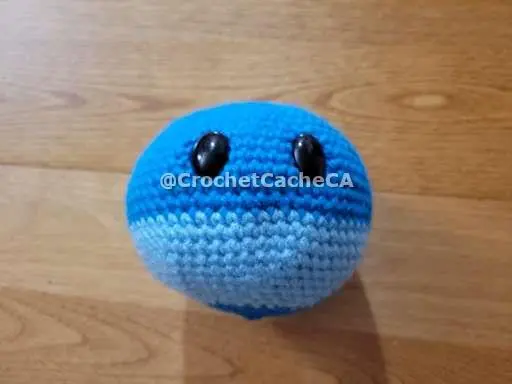
| Rnd 26 | (2sc, dec) x 6 (18) - If using the oval safety eyes add them now. Count 11 stitched in from the top of where the light blue starts and five stitches up, from both sides. Stuff the head |
| Rnd 27 | (1sc, dec) x 6 (12) |
| Rnd 28 | 6dec) x 6 (6) - sl st, leave long tail - Stitch the remaining 6 loops together then tighten all stitches fasten off and cut and hide remaining tail. |

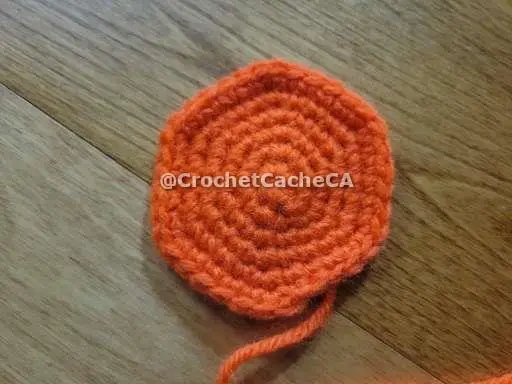
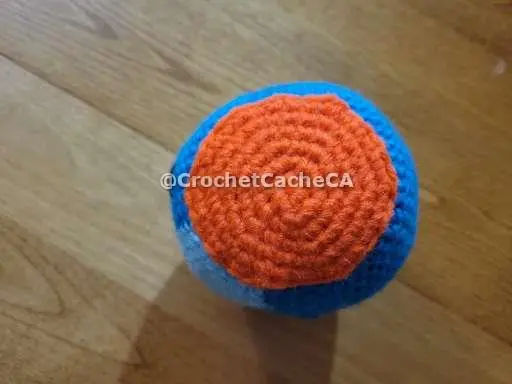
Cheeks
**Make Two**
| Rnd 1 | Orange- 6sc in Magic Circle (6) |
| Rnd 2 | 6inc (12) |
| Rnd 3 | (1sc, inc) x 6 (18) |
| Rnd 4 | (2sc, inc) x 6 (24) |
| Rnd 5 | (3sc, inc) x 6 (30) |
| Rnd 6 | (4sc, inc) x 6 (36) - sl st, leave long tail to attach to head |
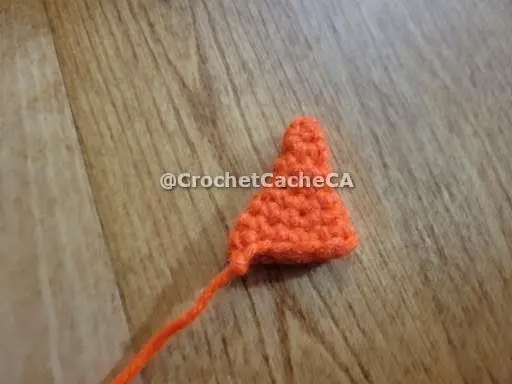
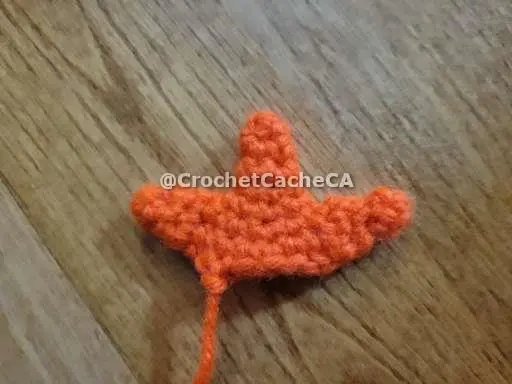
Large Cheek Spikes
**Make Two**
| Rnd 1 | Orange - 3sc in Magic Circle (3) |
| Rnd 2 | 3sc (3) |
| Rnd 3 | 3inc x 3 (6) |
| Rnd 4 | 6sc (6) |
| Rnd 5 | (1sc, inc) x 3 (9) |
| Rnd 6 | 9sc (9) |
| Rnd 7 | (2sc, inc) x 3 (12) |
| Rnd 8 | 12sc (12) - sl st, leave long tail to attach to cheek. Do Not Stuff |
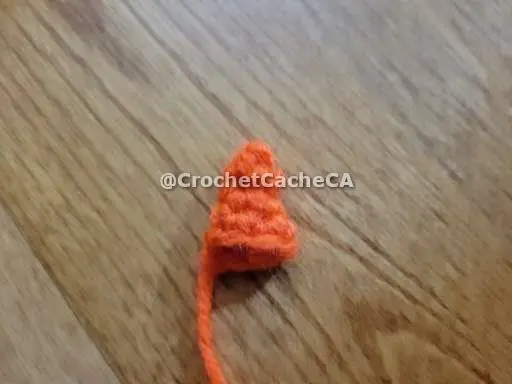
Small Cheek Spikes
**Make Four**
| Rnd 1 | Orange - 3Sc in Magic Circle (3) |
| Rnd 2 | 3sc (3) |
| Rnd 3 | 3inc x 3 (6) |
| Rnd 4 | 6sc (6) - sl st, leave long tail to attach to cheek. Do Not Stuff |
Body
| Rnd 1 | Blue - 6sc in Magic Circle (6) |
| Rnd 2 | 6inc (12) |
| Rnd 3 | (1sc, inc) x 6 (18) |
| Rnd 4 | (2sc, inc) x 6 (24) |
| Rnd 5 | (3sc, inc) x 6 (30) |
| Rnd 6 | (4sc, inc) x 6 (36) |
| Rnd 7 | (5sc, inc) x 6 (42) |
| Rnds 8-17 | 42sc (42) |
| Rnds 18-20 | 21sc, 21hdc (42) |
| Rnd 21 | (5sc, dec) x 3, (5hdc, dec) x 3 (36) |
| Rnd 22 | (4sc, dec) x 3, 18hdc (33) |
| Rnds 23-24 | 15sc, 18hdc (33) - sl st, leave long tail to attach to head. Stuff body. |
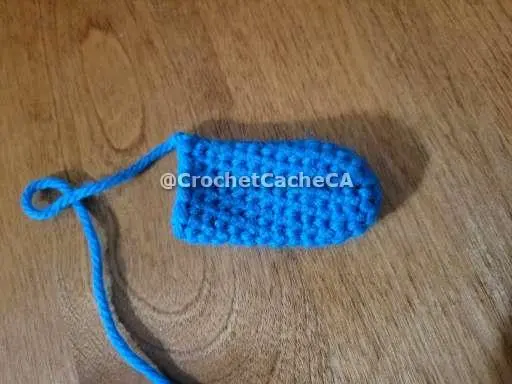
Arms
**Make Two**
| Rnd 1 | Blue- 6sc in Magic Circle (6) |
| Rnd 2 | 6inc (12) |
| Rnds 3-14 | 12sc (12) - sl st, leave long tail to attach to body, lightly stuff. |
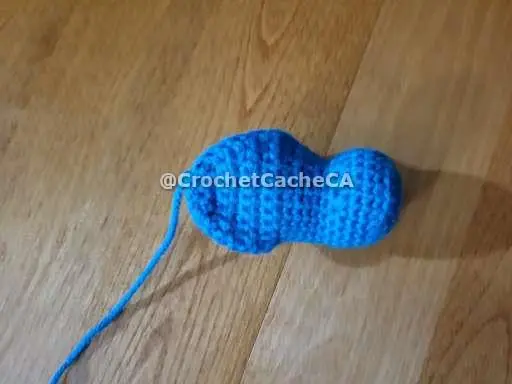
Legs
**Make Two**
| Rnd 1 | Blue - 6sc in Magic Circle (6) |
| Rnd 2 | 6inc (12) |
| Rnd 3 | (1sc, inc) x 6 (18) |
| Rnd 4 | (2sc, inc) x 6 (24) |
| Rnd 5 | 24sc back loops only (24) |
| Rnds 6-7 | 24sc (24) |
| Rnd 8 | 6sc, 6dec, 6sc (18) |
| Rnds 9-10 | 18sc (18) |
| Rnd 11 | 8sc, 2inc, 8sc (20) |
| Rnd 12 | 20sc (20) |
| Rnd 13 | 8sc, 4inc, 8sc (24) |
| Rnd 14 Rnd 15 |
***Left Leg*** 26sc (24) 11sc, Chain Turn (11) |
| Rnd 14 Rnd 15 |
***Right Leg*** 22sc, Chain Turn (24) 11sc, Chain Turn (11) |
| Rnd 16 | dec, 7sc, dec, Chain Turn |
| Rnd 17 | 9sc, Chain Turn (9) |
| Rnd 18 | dec, 5sc, dec, Chain Turn |
| Rnd 19 | 7sc, Chain Turn (7) |
| Rnd 20 | dec, 3sc, dec, Chain Turn (5) |
| Rnd 20 | dec, sc, dec, Chain Turn (3) |
| - sc around the opening of the leg. - sl st, leave long tail to attach to body, stuff the foot and stuff the thigh as attaching to the body. |
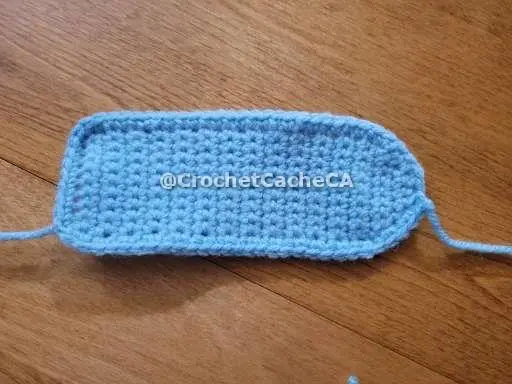
Belly
| Light Blue - Chain 11, skip stitch closest to the hook, 10Sc, Chain Turn (10) | |
| Rows 1-25 | 10sc, Chain Turn (10) |
| Row 26 | dec, 6sc, dec, Chain Turn (8) |
| Row 27 | dec, 4sc, dec, Chain Turn (6) |
| Row 28 | dec, 2sc, dec, Chain Turn (4) |
| Row 29 | 2dec (2) - Sc around entire piece and sl st, leave long tail to attach to body |
Tail
| Light Blue - Chain 30, skip stitch closest to the hook, 28Sc, 3sc in same stitch, 27sc, 2sc in same stitch (60) | |
| Rnds 1-2 | 60sc (60) |
| Rnd 3 | 28sc, 2dec, 28sc (58) |
| Rnd 4 | 56sc, dec (57) |
| Rnd 5 | 27sc, 2dec, 26sc (55) |
| Rnd 6 | 53sc, dec (54) |
| Rnd 7 | 25sc, 2dec, 25sc (52) |
| Rnd 8 | 50Sc, Dec (51) |
| Rnd 9 | 24sc, 2dec, 24sc (49) |
| Rnd 10 | 47sc, dec (48) |
| Rnd 11 | 20sc, 4dec, 21sc (44) |
| Rnd 12 | 42sc, dec (43) |
| Rnd 13 | 17sc, 4dec, 18sc (39) |
| Rnd 14 | 37sc, dec (38) |
| Rnd 15 | 15sc, 4dec, 15sc (34) |
| Rnd 16 | 13sc, 4dec, 13sc (30) |
| Rnd 17 | 11sc, 4dec, 11sc (26) |
| Rnd 18 | 9sc, 4dec, 9sc (22) |
| Rnd 19 | 7sc, 4dec, 7sc (18) - sl st, leaving long string to attach to the of body. Lightly stuff the tail. |
Assembly
- - Attach checks to side of the head, have the cheeks slightly lower towards the bottom of the head
- - Attach two smaller spikes to the sides a larger spike starting at the bottom of the large spike
- - Attach the spikes in the center of the cheeks.
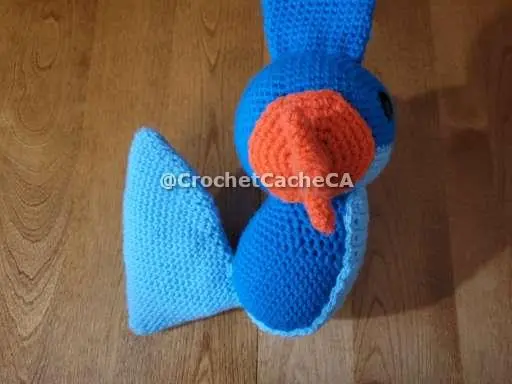
- - Attach the head fin at the top of the head in the center.
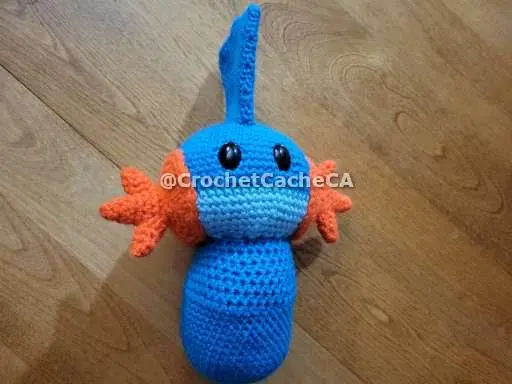
- - When attaching the body to the head, have the side with the half double crochets at the front. when attaching try and attach from cheek to cheek to help hide the colour change.
- - Attach the belly by centering under the face on the body. the flat side to be under the chin of Mudkip.
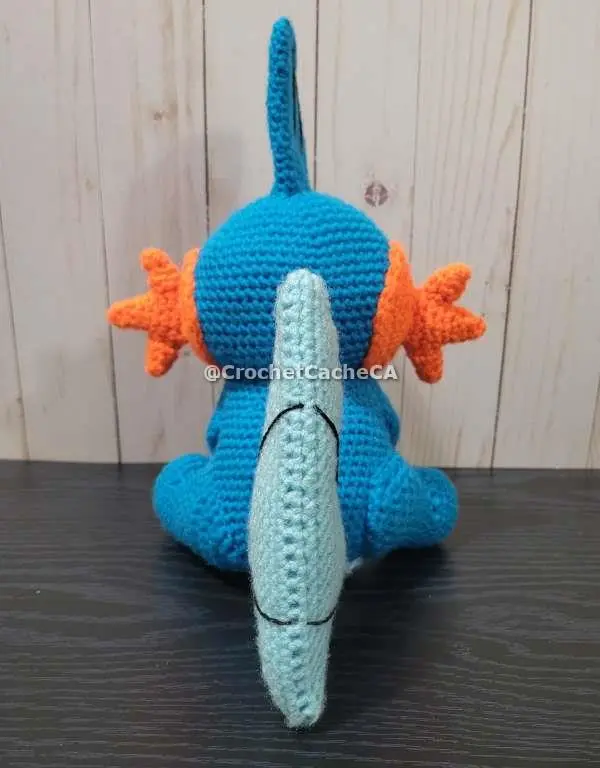
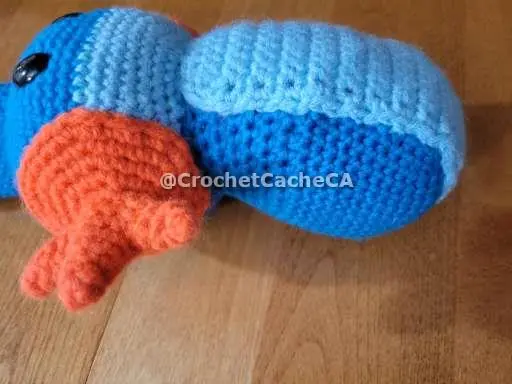
- - The tail attaches at the back of Mudkip right above the bottom of the belly piece, try and keep the tail attachment narrow to help keeps its shape.
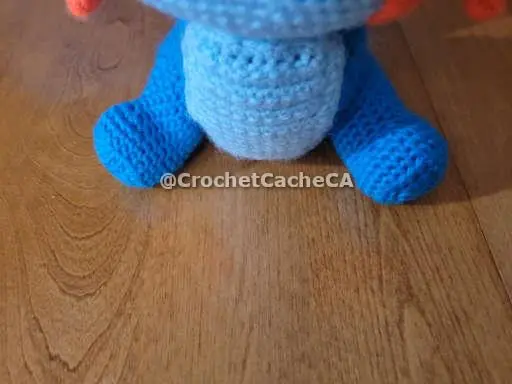
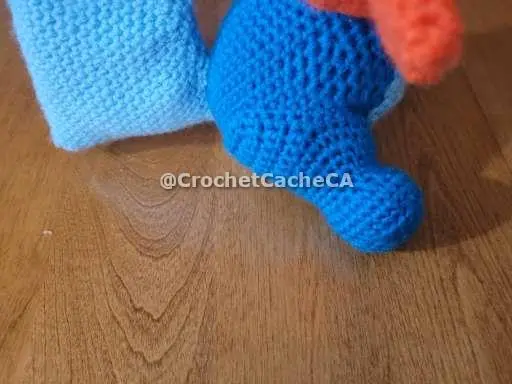
- - When attaching the legs, line it up with the side of the belly.
- - Attach the arms at the top of the belly slightly angling the arms.
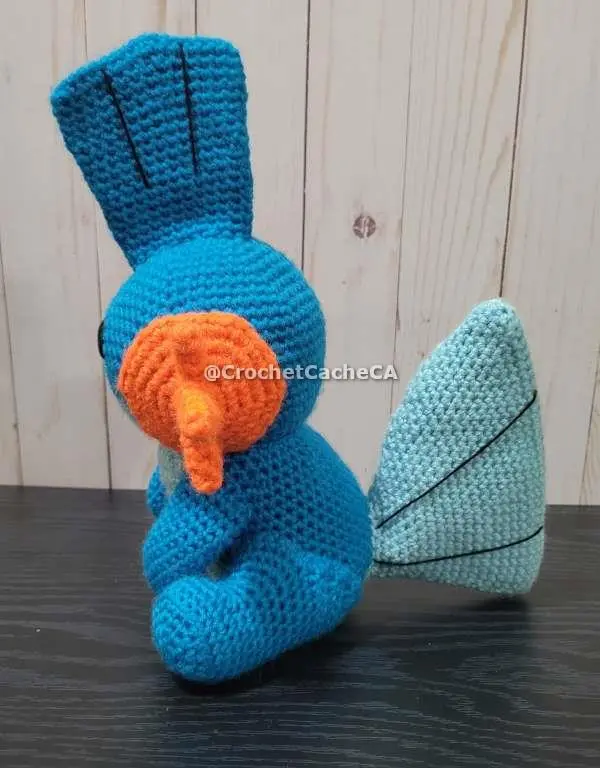
- - Using black crochet thread, stitch on details on the tail, the head fin and nose details.
YOUR DONE!

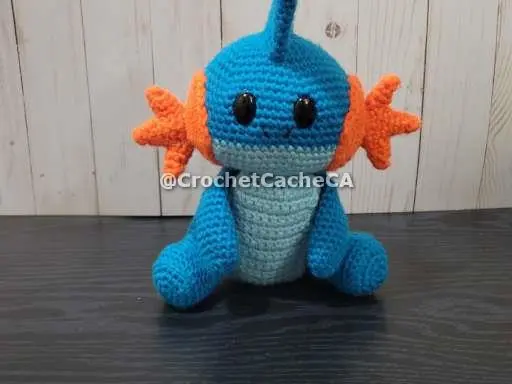
Conclusion
Now you have the Mudkip amigurumi completed! I hope that you enjoyed making this pattern and that it was easy for you. This adorable crochet should be just the thing your Mudkip lover needs in their life. The techniques in this pattern can help you in creating a completely new world of possibilities!